
The Original Table Displays I Made
The original risers I built
These were the original set of riser style table displays I made back in November 2019. I remember struggling to screw them in by hand with a screw driver on the ground on our carpet, while trying to keep all the pieces at 90 degree angles so everything would sit straight! They are far less than perfect but they have served me so well over the last two years!
With the relaunch of Fish & Chip Craft Co. and going into a very busy holiday season of pop-ups, I wanted to build new wooden table displays for my products. These are new iterations of similar table displays that I build back in November 2019. After being unable to find prebuilt stadium riser style displays online for purchase (I remember I couldn’t find the size I wanted in both depth and distance in height between the shelves), I came up with a schematic to build my own risers with very minimal tools or equipment. At that time I was still living in an apartment in Midtown Sacramento (and cutting glass bottles in my kitchen) and had limited space and tools.
With the help of a good friend I cut 2”x6” common board into (6) 1.5’ pieces for shelves, and (4) each of 4”, 9”, and 14” pieces for the sides. While I knew I didn’t have the skills or tools to create risers that had whole pieces of wood for the stands, I also knew that the individual shelves would be unstable, especially with heavy candles on them, if the pieces didn’t connect to form a larger more stable base. My solution was to use clasps to connect the shelves and their stands together!
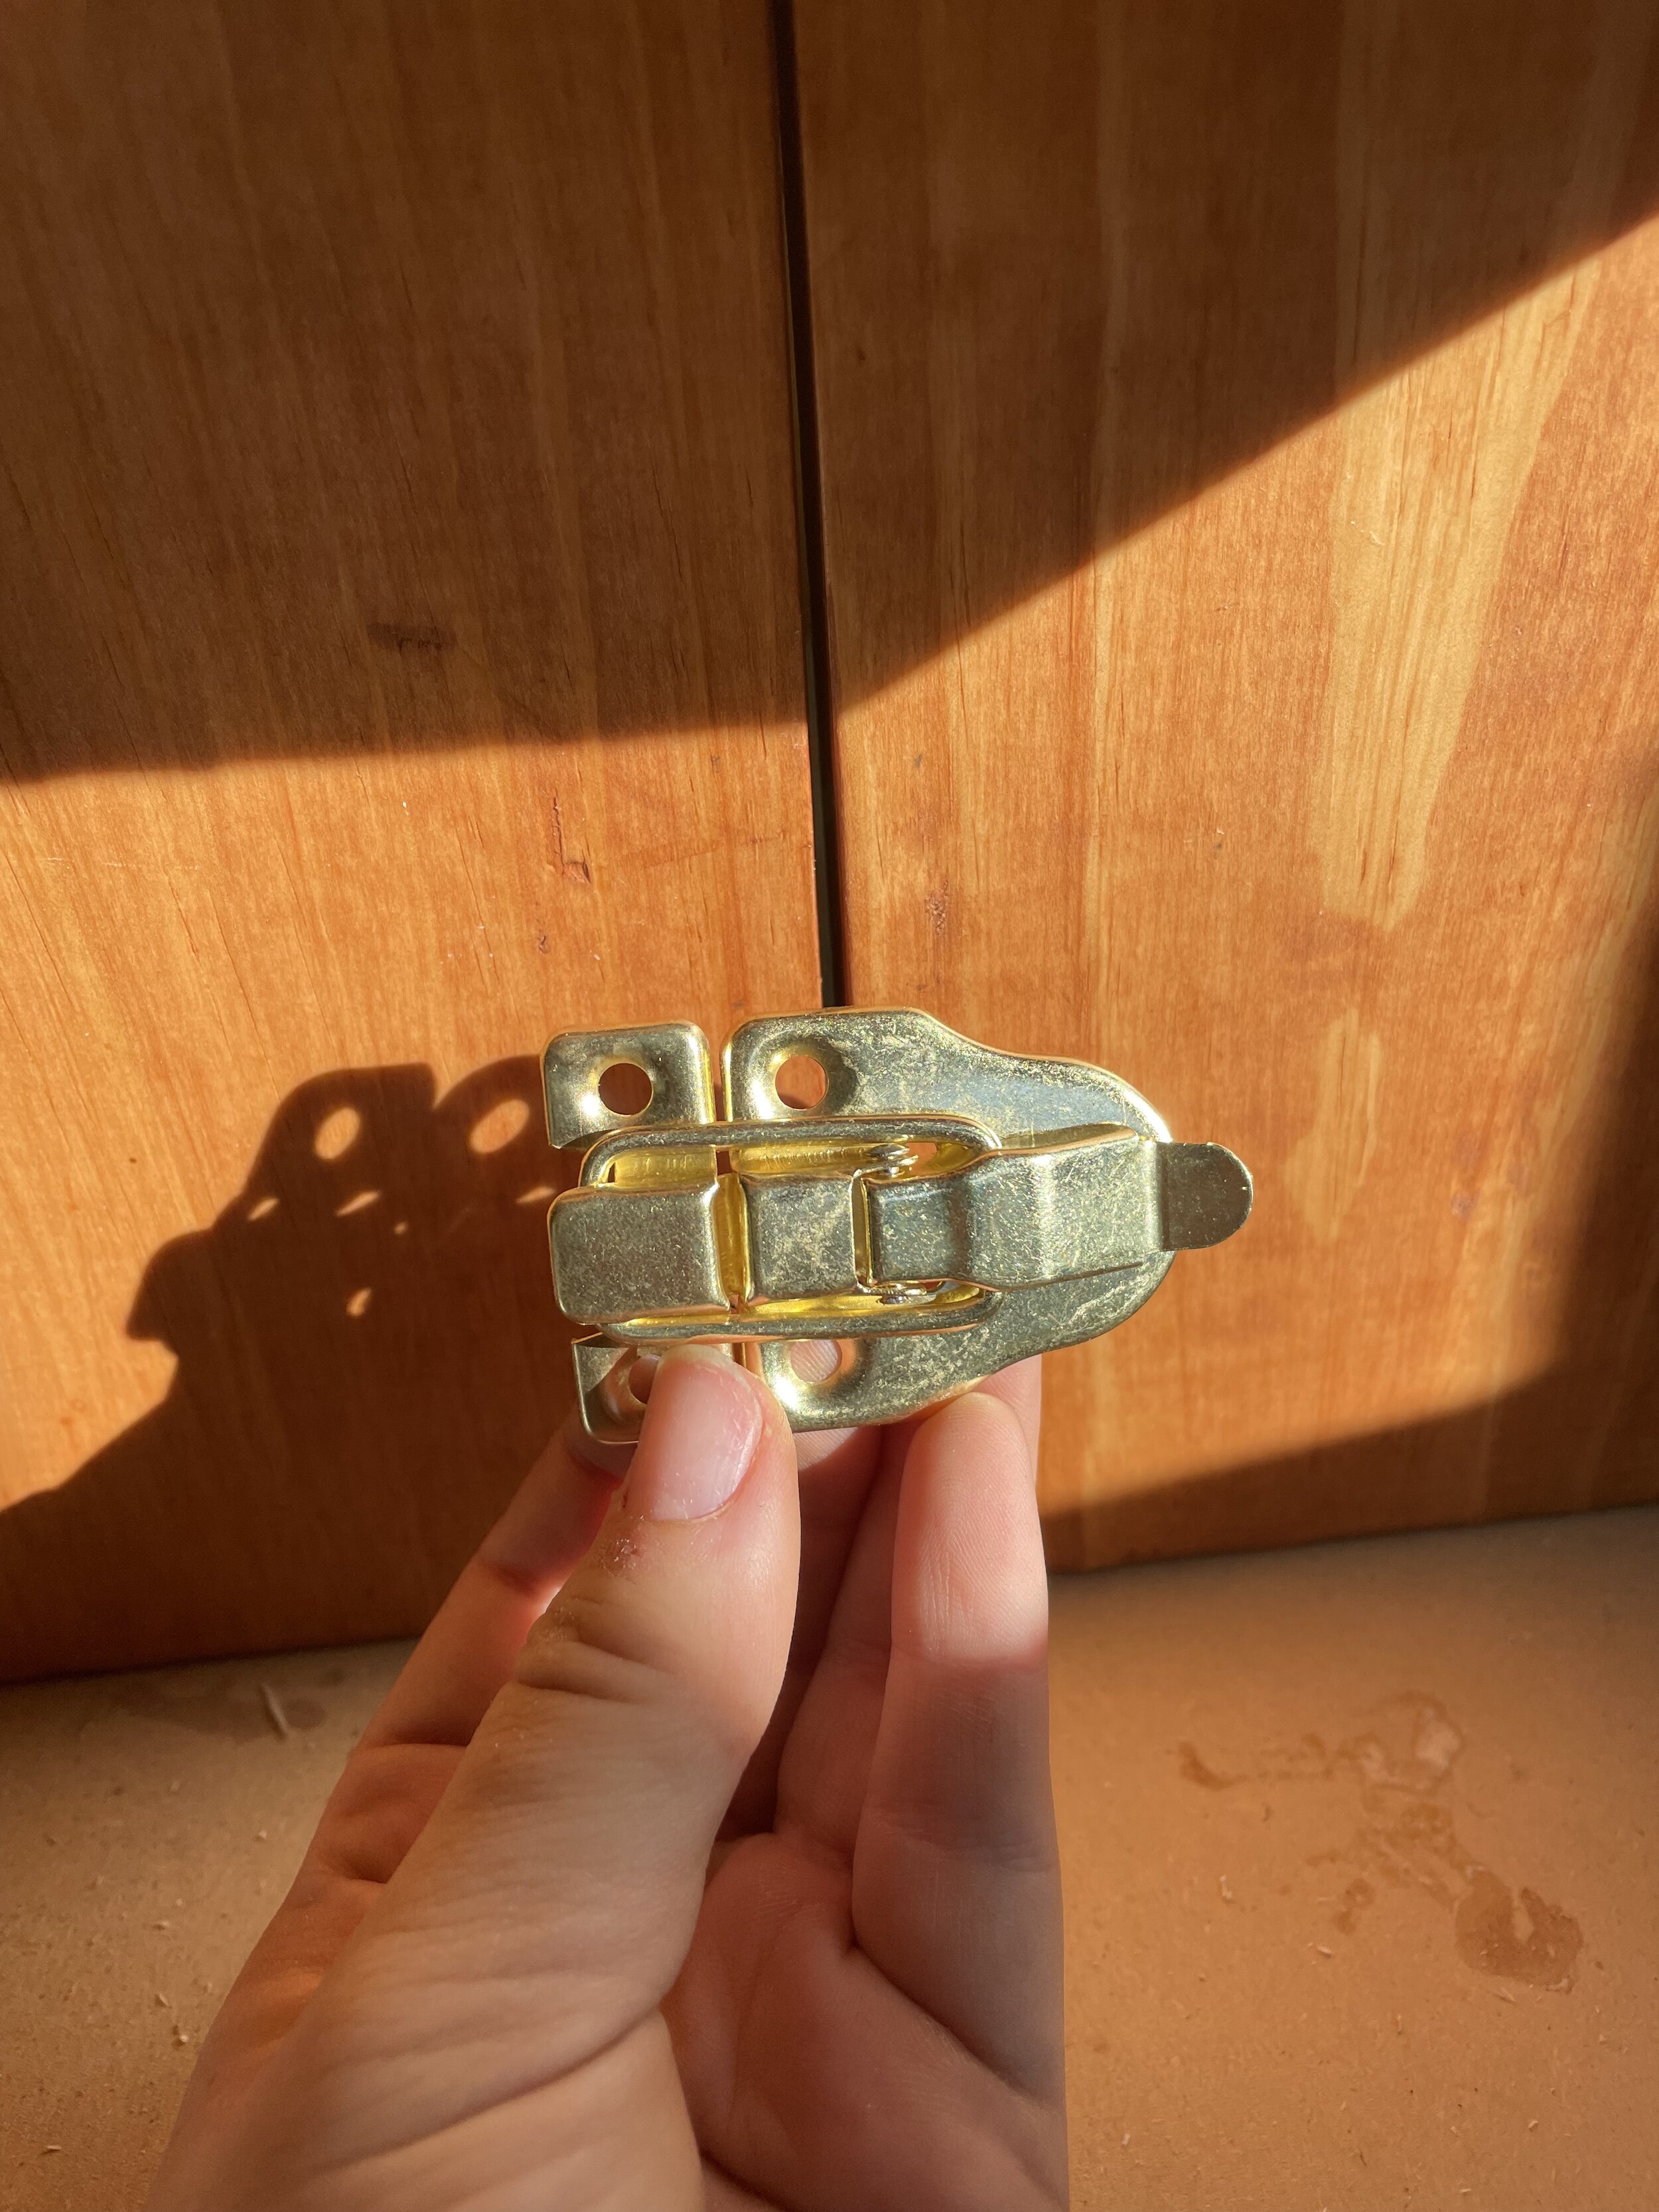
I’ve seen these clasps called multiple things…. draw catch; draw tight catch; draw catch clasp; hasp clasp; draw tight hasp….. to be honest, I don’t know what the official name is. I’m just going to call them clasps.
The great thing about these clasps is that the displays I built could come apart for easier and more flexible transportation when I’m trying to fit all the necessary things in my VW Jetta to get to and from pop-ups.
Building the New Table Displays
Materials List:
-
Wood - I used common board - its the least expensive
-
Screws - I used 1.25” screws for general building with a gold finish and flat heads
-
Latches - I used 2.3” x 1.6” gold finished latches
-
I needed 10 latches to build (2) three-shelf display and (1) 2-shelf display
-
-
You’ll also need:
-
A pencil
-
A tape measure
-
Something with a flat edge - I recommend a 7” metal speed square
-
A saw to cut the wood - I used my miter saw
-
Something to sand the wood - I used a sanding sponge I already had, and to be honest I’m not sure what grit it is because I’ve had it for a long time. I think it might be this 120 grit angled sanding sponge. These are great because they’re easier to hold than sheets of sanding paper on their own, particularly if you don’t have an electric hand sander to use.
-
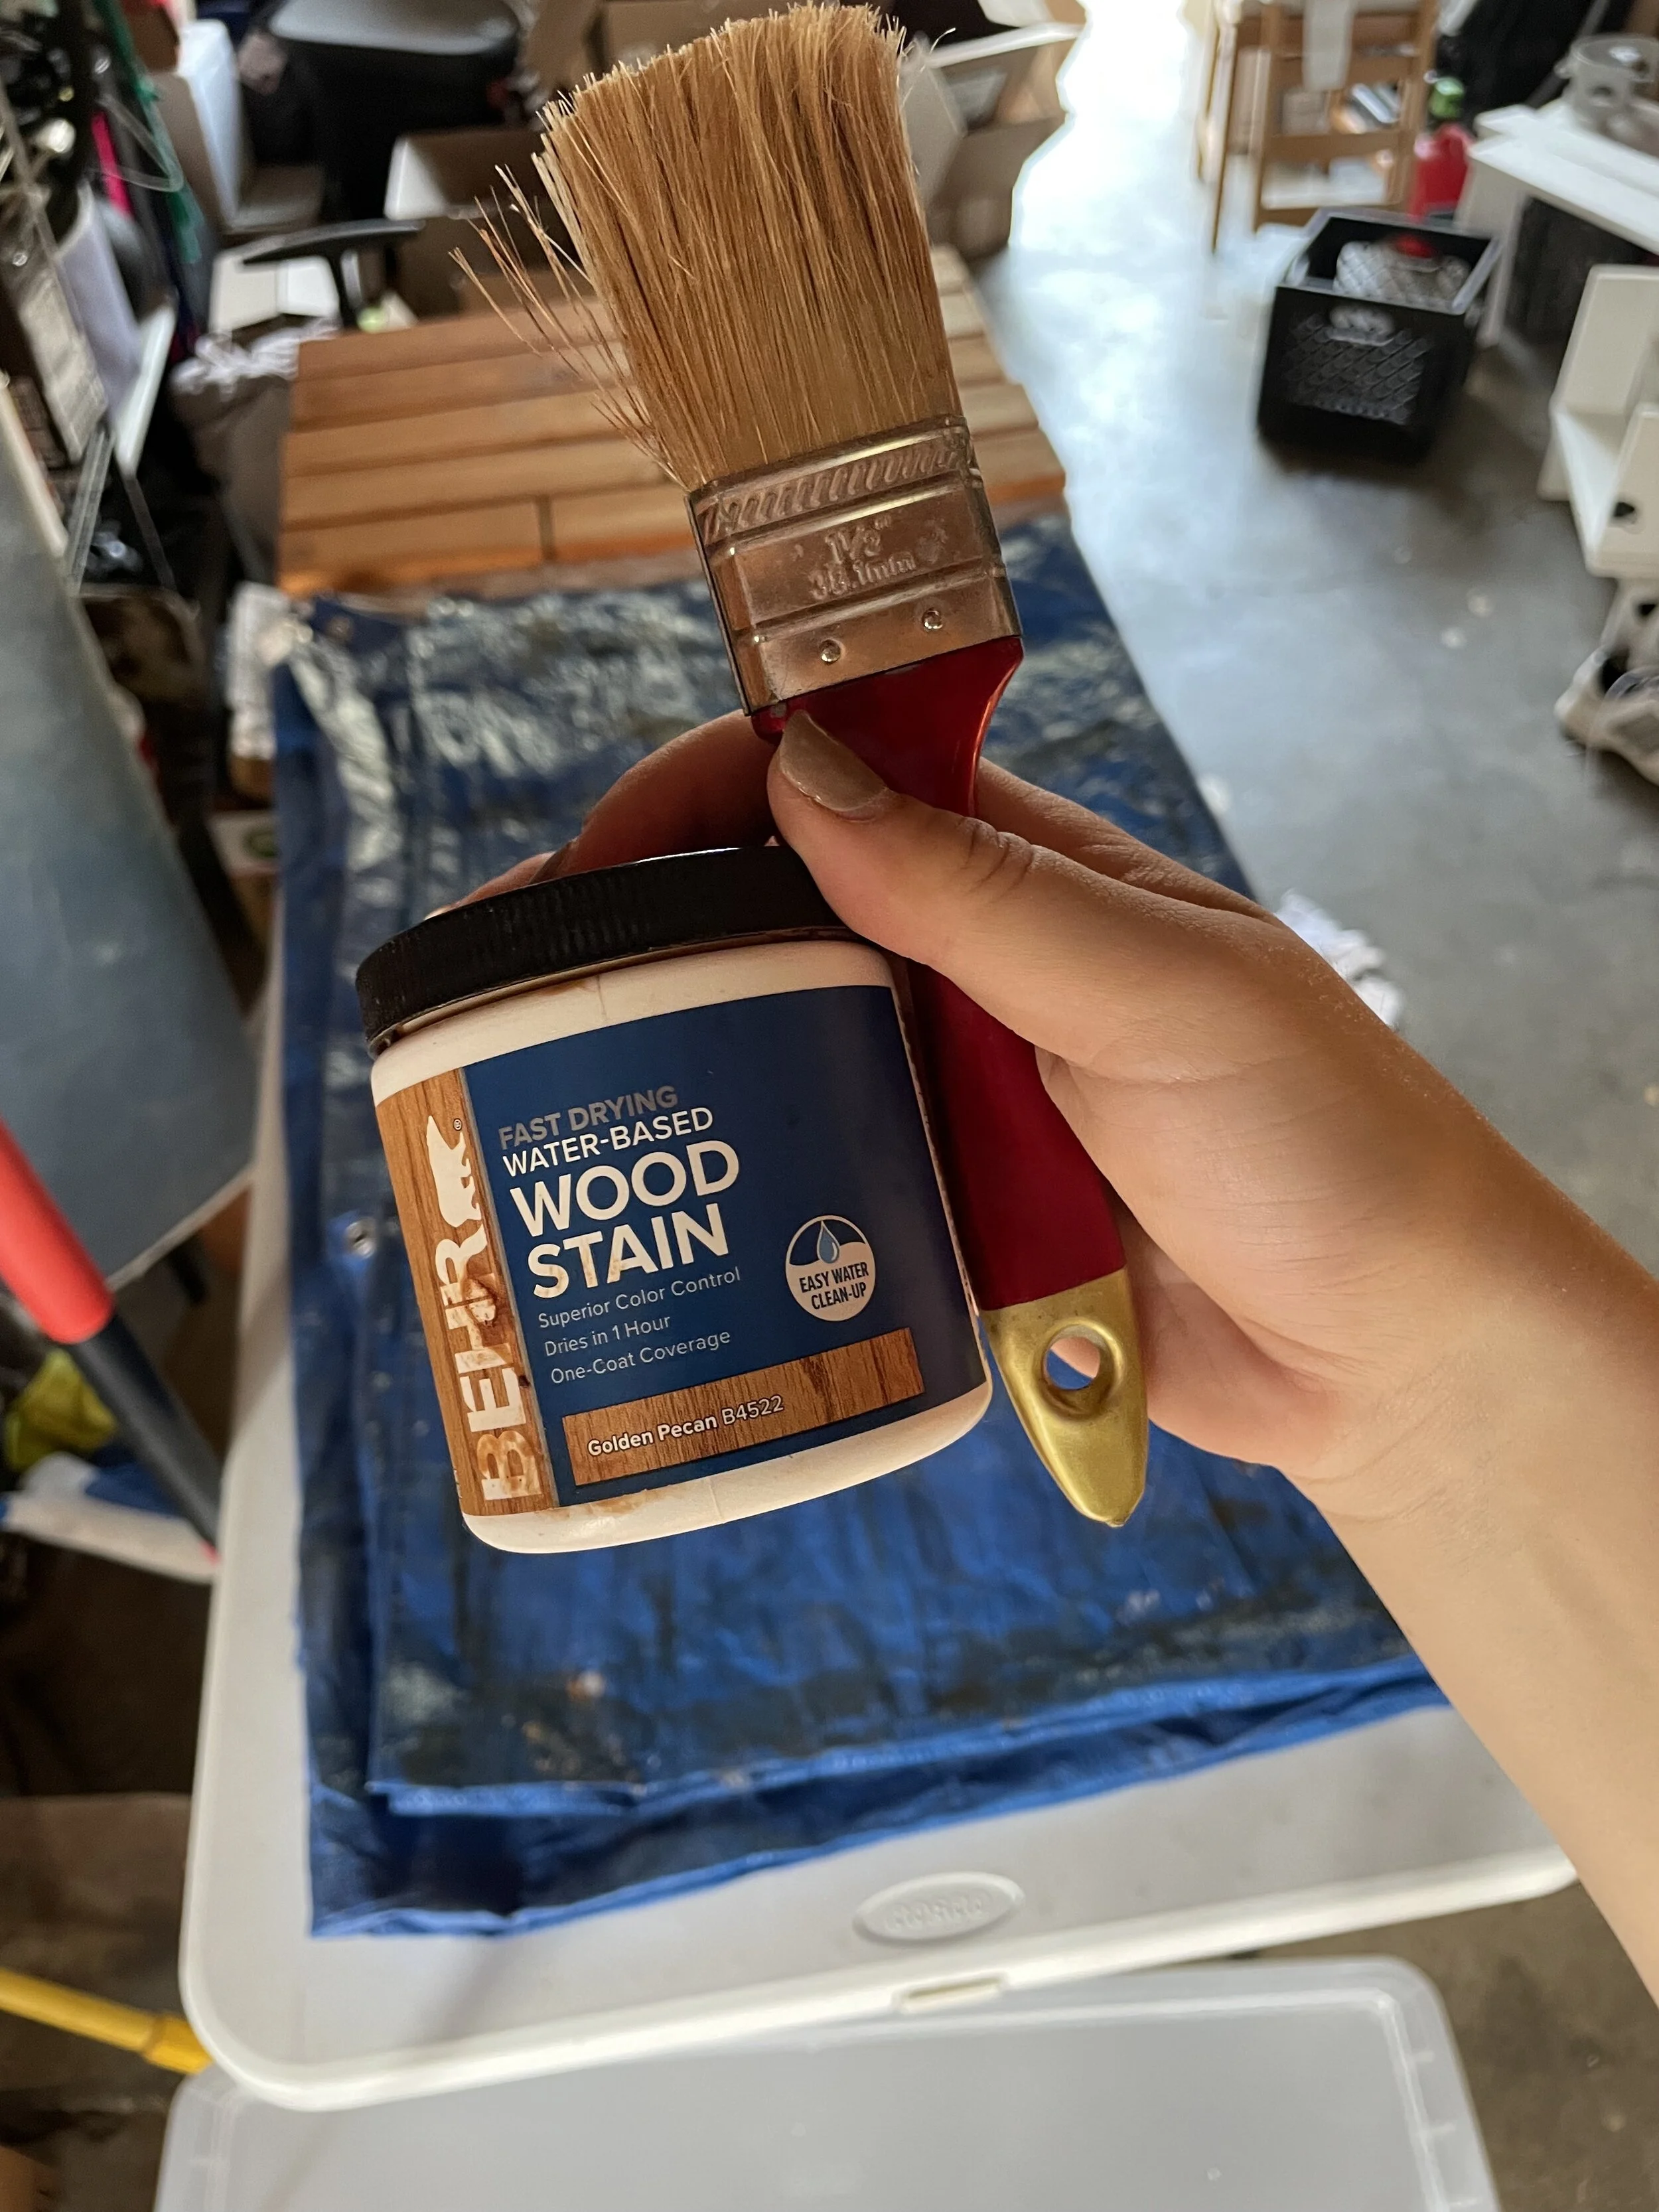
A brush and your choice of wood stain or paint - I used this stain (note - it took me 1.5 of these containers)
-
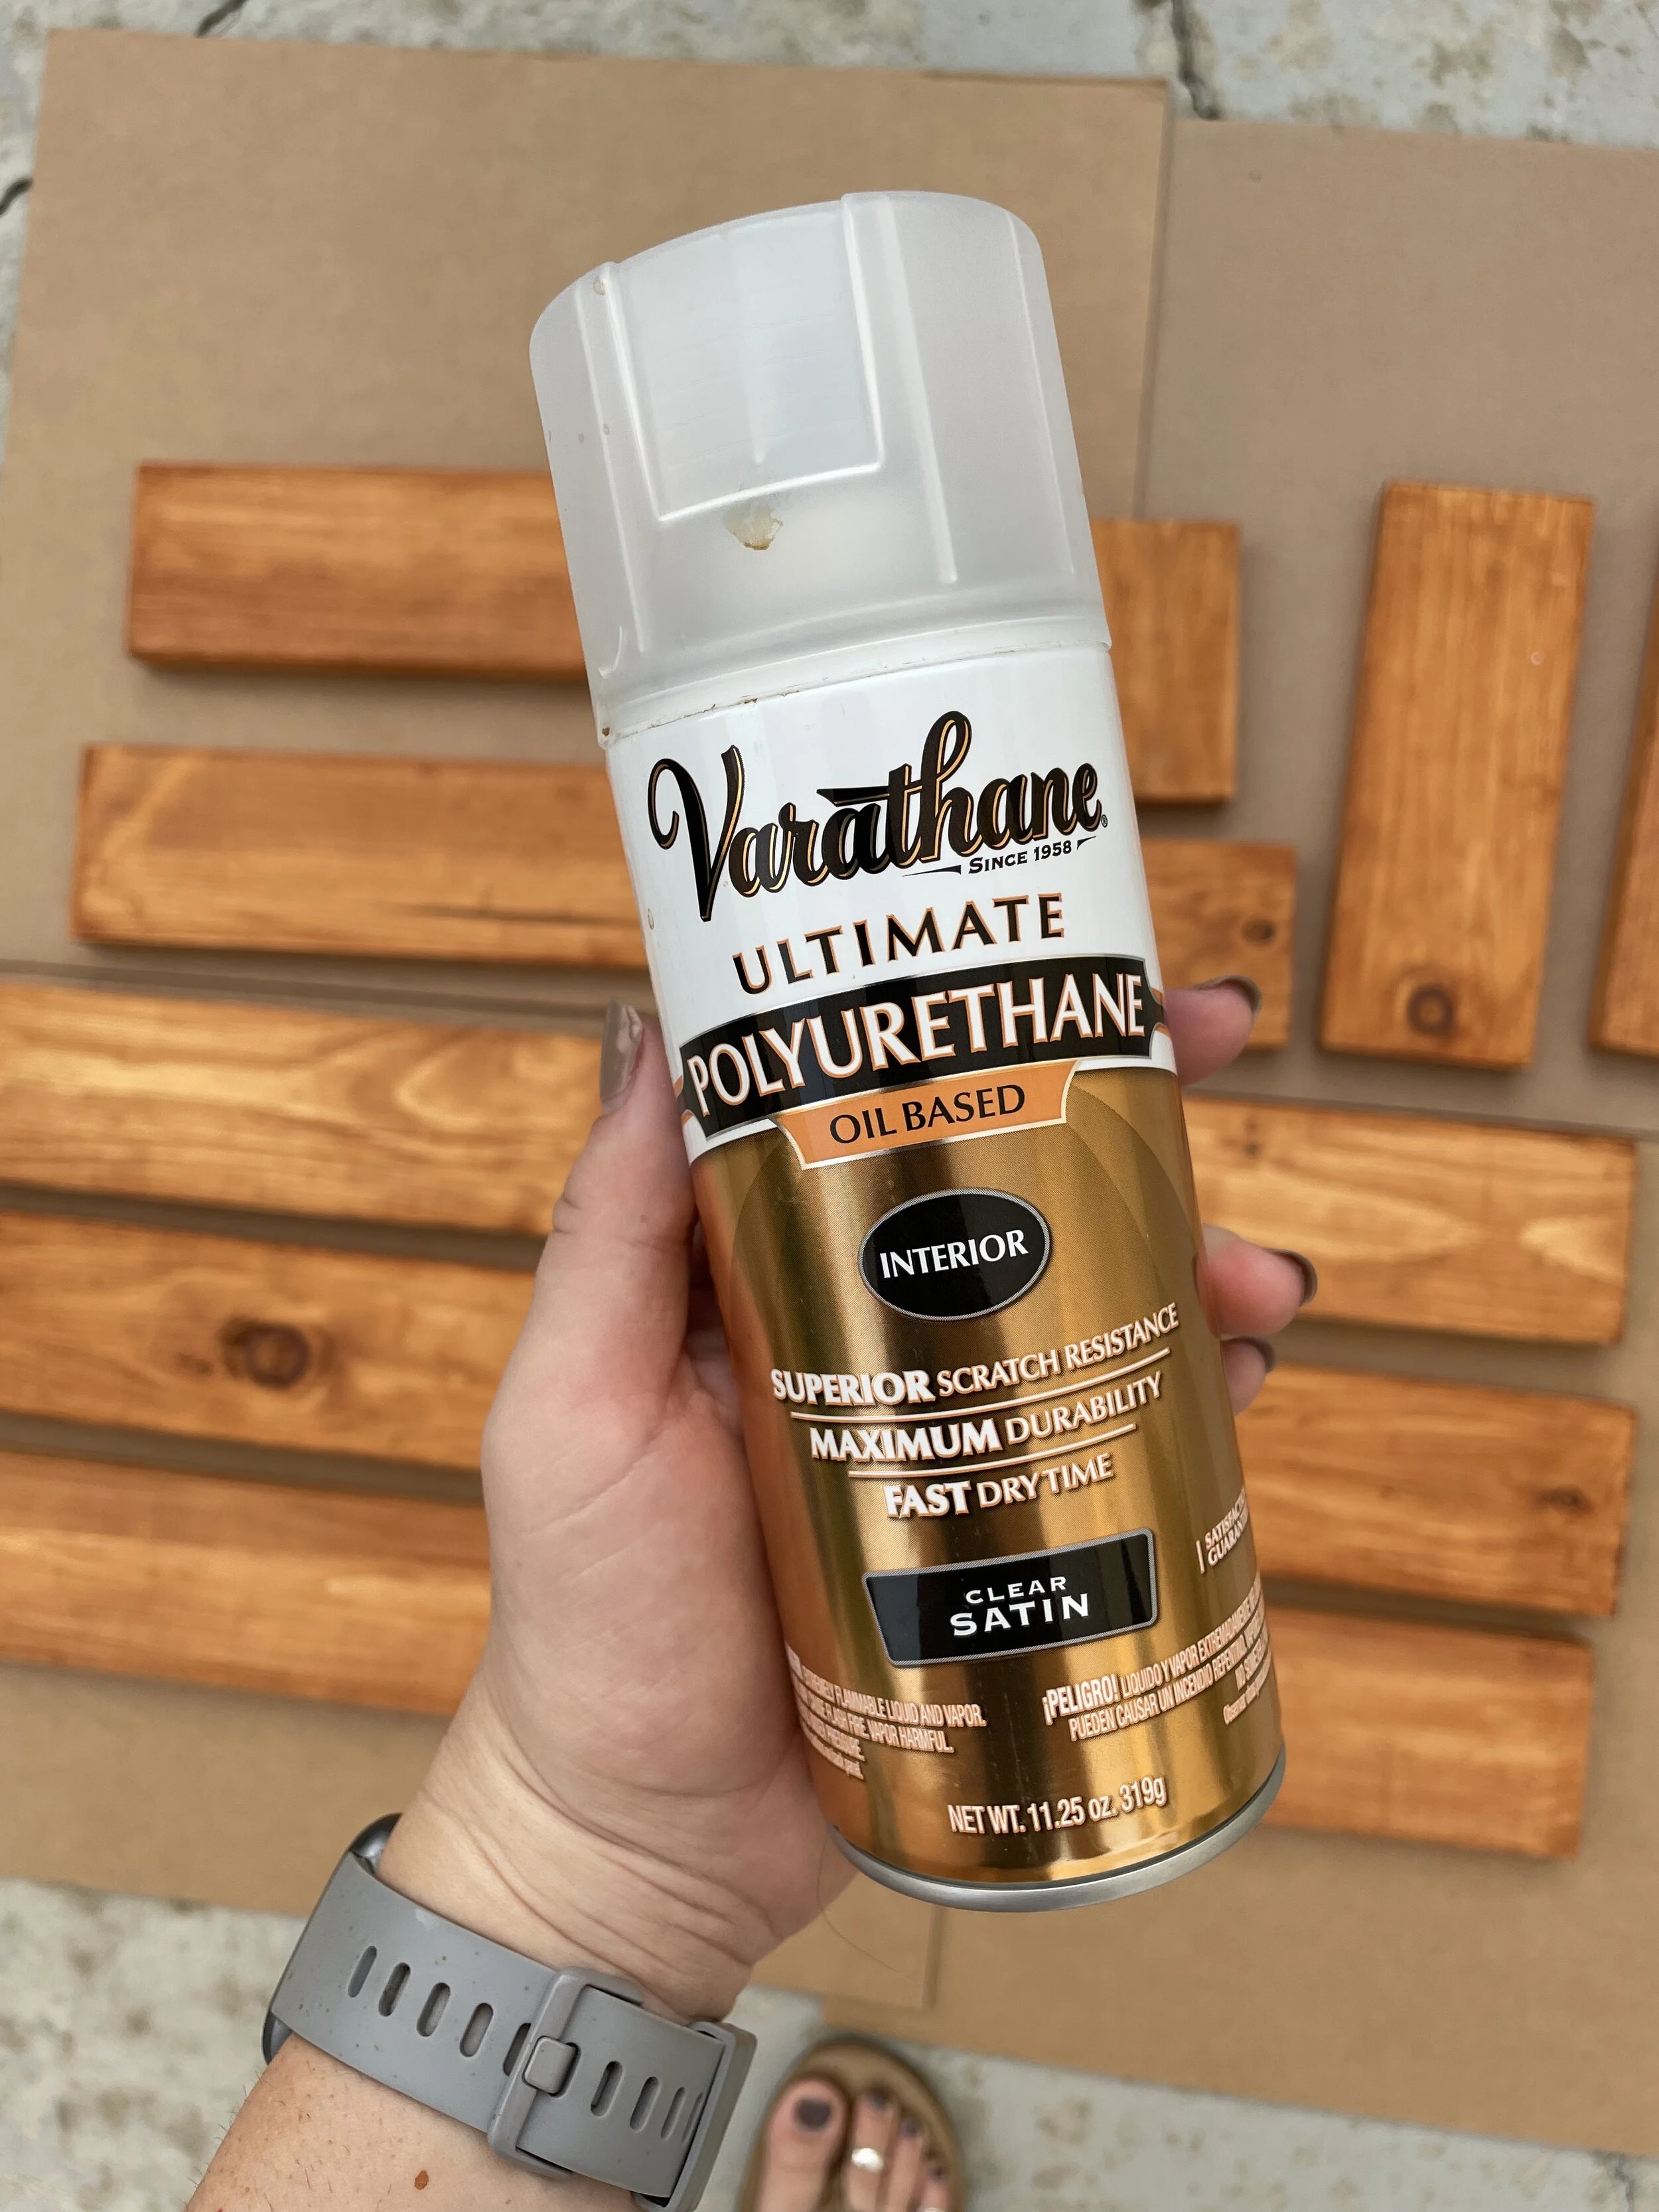
Optional - you can seal the with some sort of external coating or spray - I used this spray
-
A drill, ideally, with a drill bit and Phillips head attachment… if not a screw driver will do
-
A tarp, cardboard, or other surfaces you don’t mind painting/sanding/spraying your wood on.
-
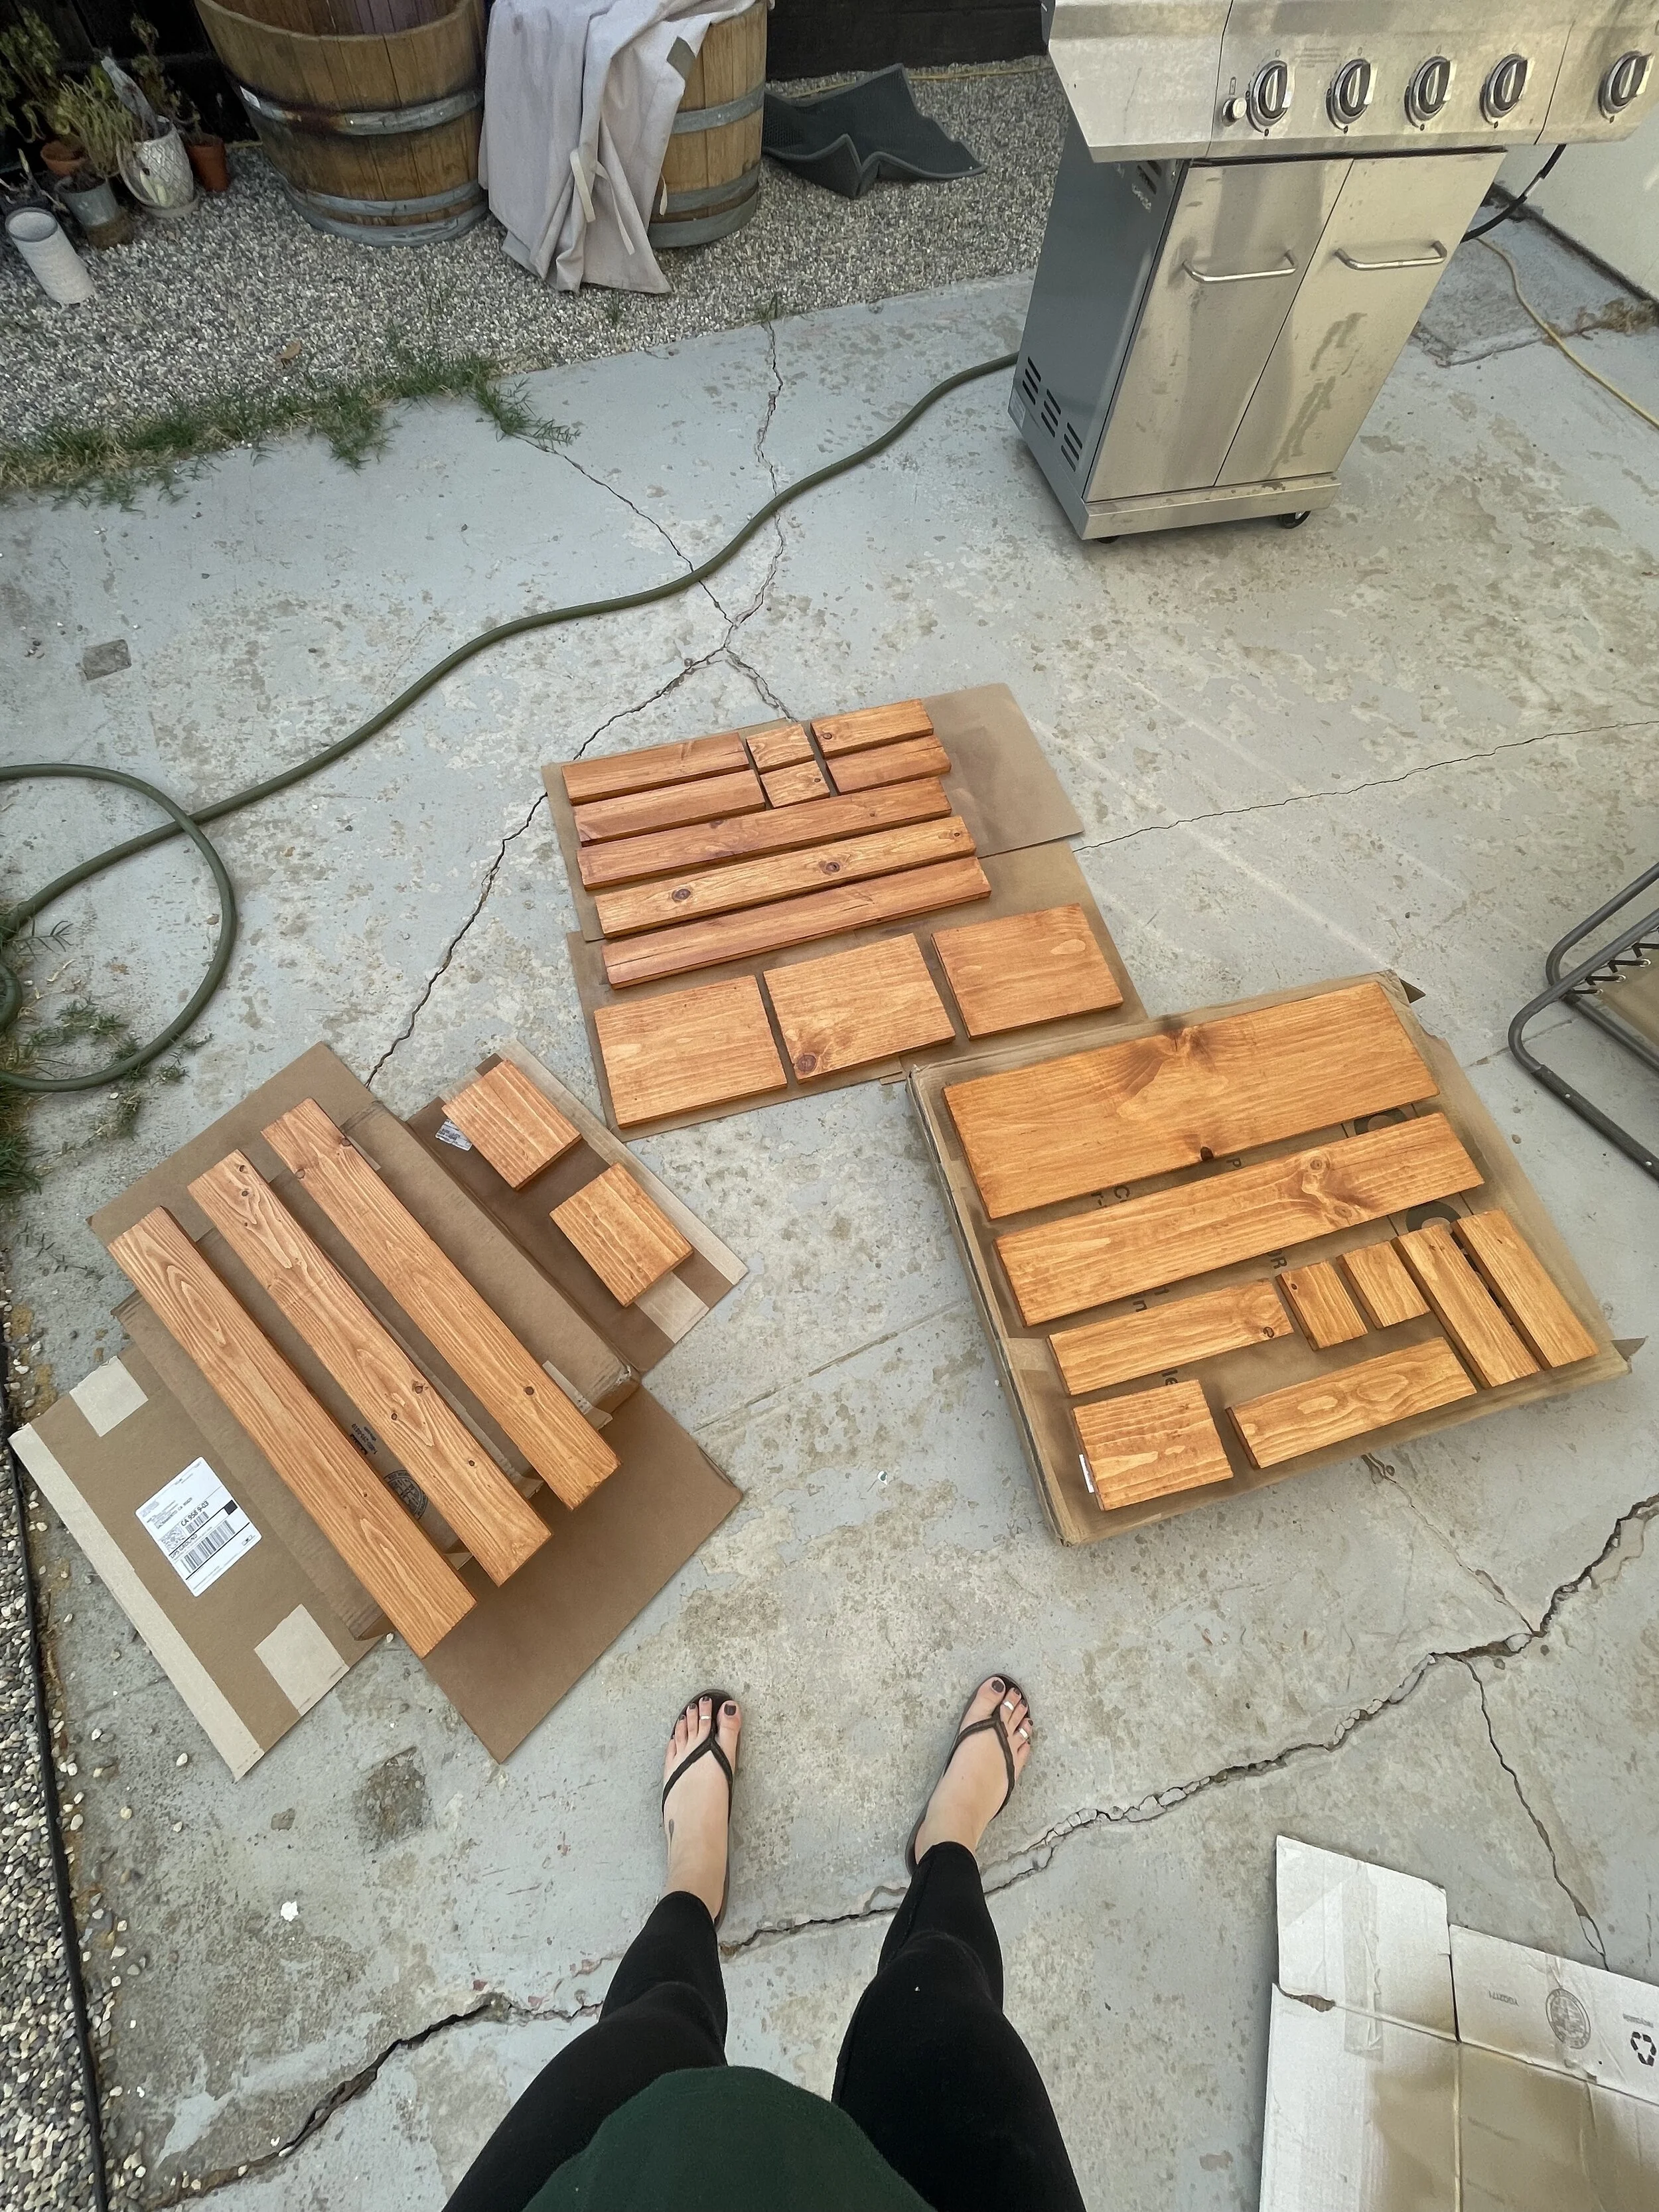
This time around, I decided to make three different displays. Two would be updated versions of the original ones I made, and the third would be a wider but shorter two shelf version to hold some of my new products.
So here’s my disclaimer: I’m by no means an expert! In the past two years since I built the first set of table displays, we’ve bought our first home and with that I have a lot more tools and space to build at hand. I built myself 12 raised garden beds, and even a set of work benches for my garage. But please don’t take my DIY sharing as best practices or professional advice.

Step by Step Instructions and Pictures

STEP 1: Determine the desired width of your shelves, how many shelves each display will have, and the distance in height desired between the shelves. For my products, I know that 5-6” of vertical distance between the shelves works great. I also knew that I wanted to make my shelves wider than the old displays, so I made them longer. You will also need to determine what size wood you want - this determines the depth of your shelves. If you go with the lower price common board like I did, you’ll find them in 4”, 6” and 10” dimensions. (PS - these are lumber dimensions which means these aren’t the actual widths of the wood in inches… but they’re pretty close.)
STEP 2: Make your cut list! Jot down a list of how many of each pieces you’ll need for each length. For instance, if you’re making a two-shelf display, and you want it to be 1’ wide with 5” of height between the shelves, you would cut (2) 1’ pieces for the shelves, (2) 5” pieces to hold up the bottom shelf, and (2) 10” pieces to hold up the top shelf.
STEP 3: Use your cut list to measure out and mark these pieces on your wood; this is where the tape measure, pencil and a flat edge (speed squares are awesome) come in super handy!
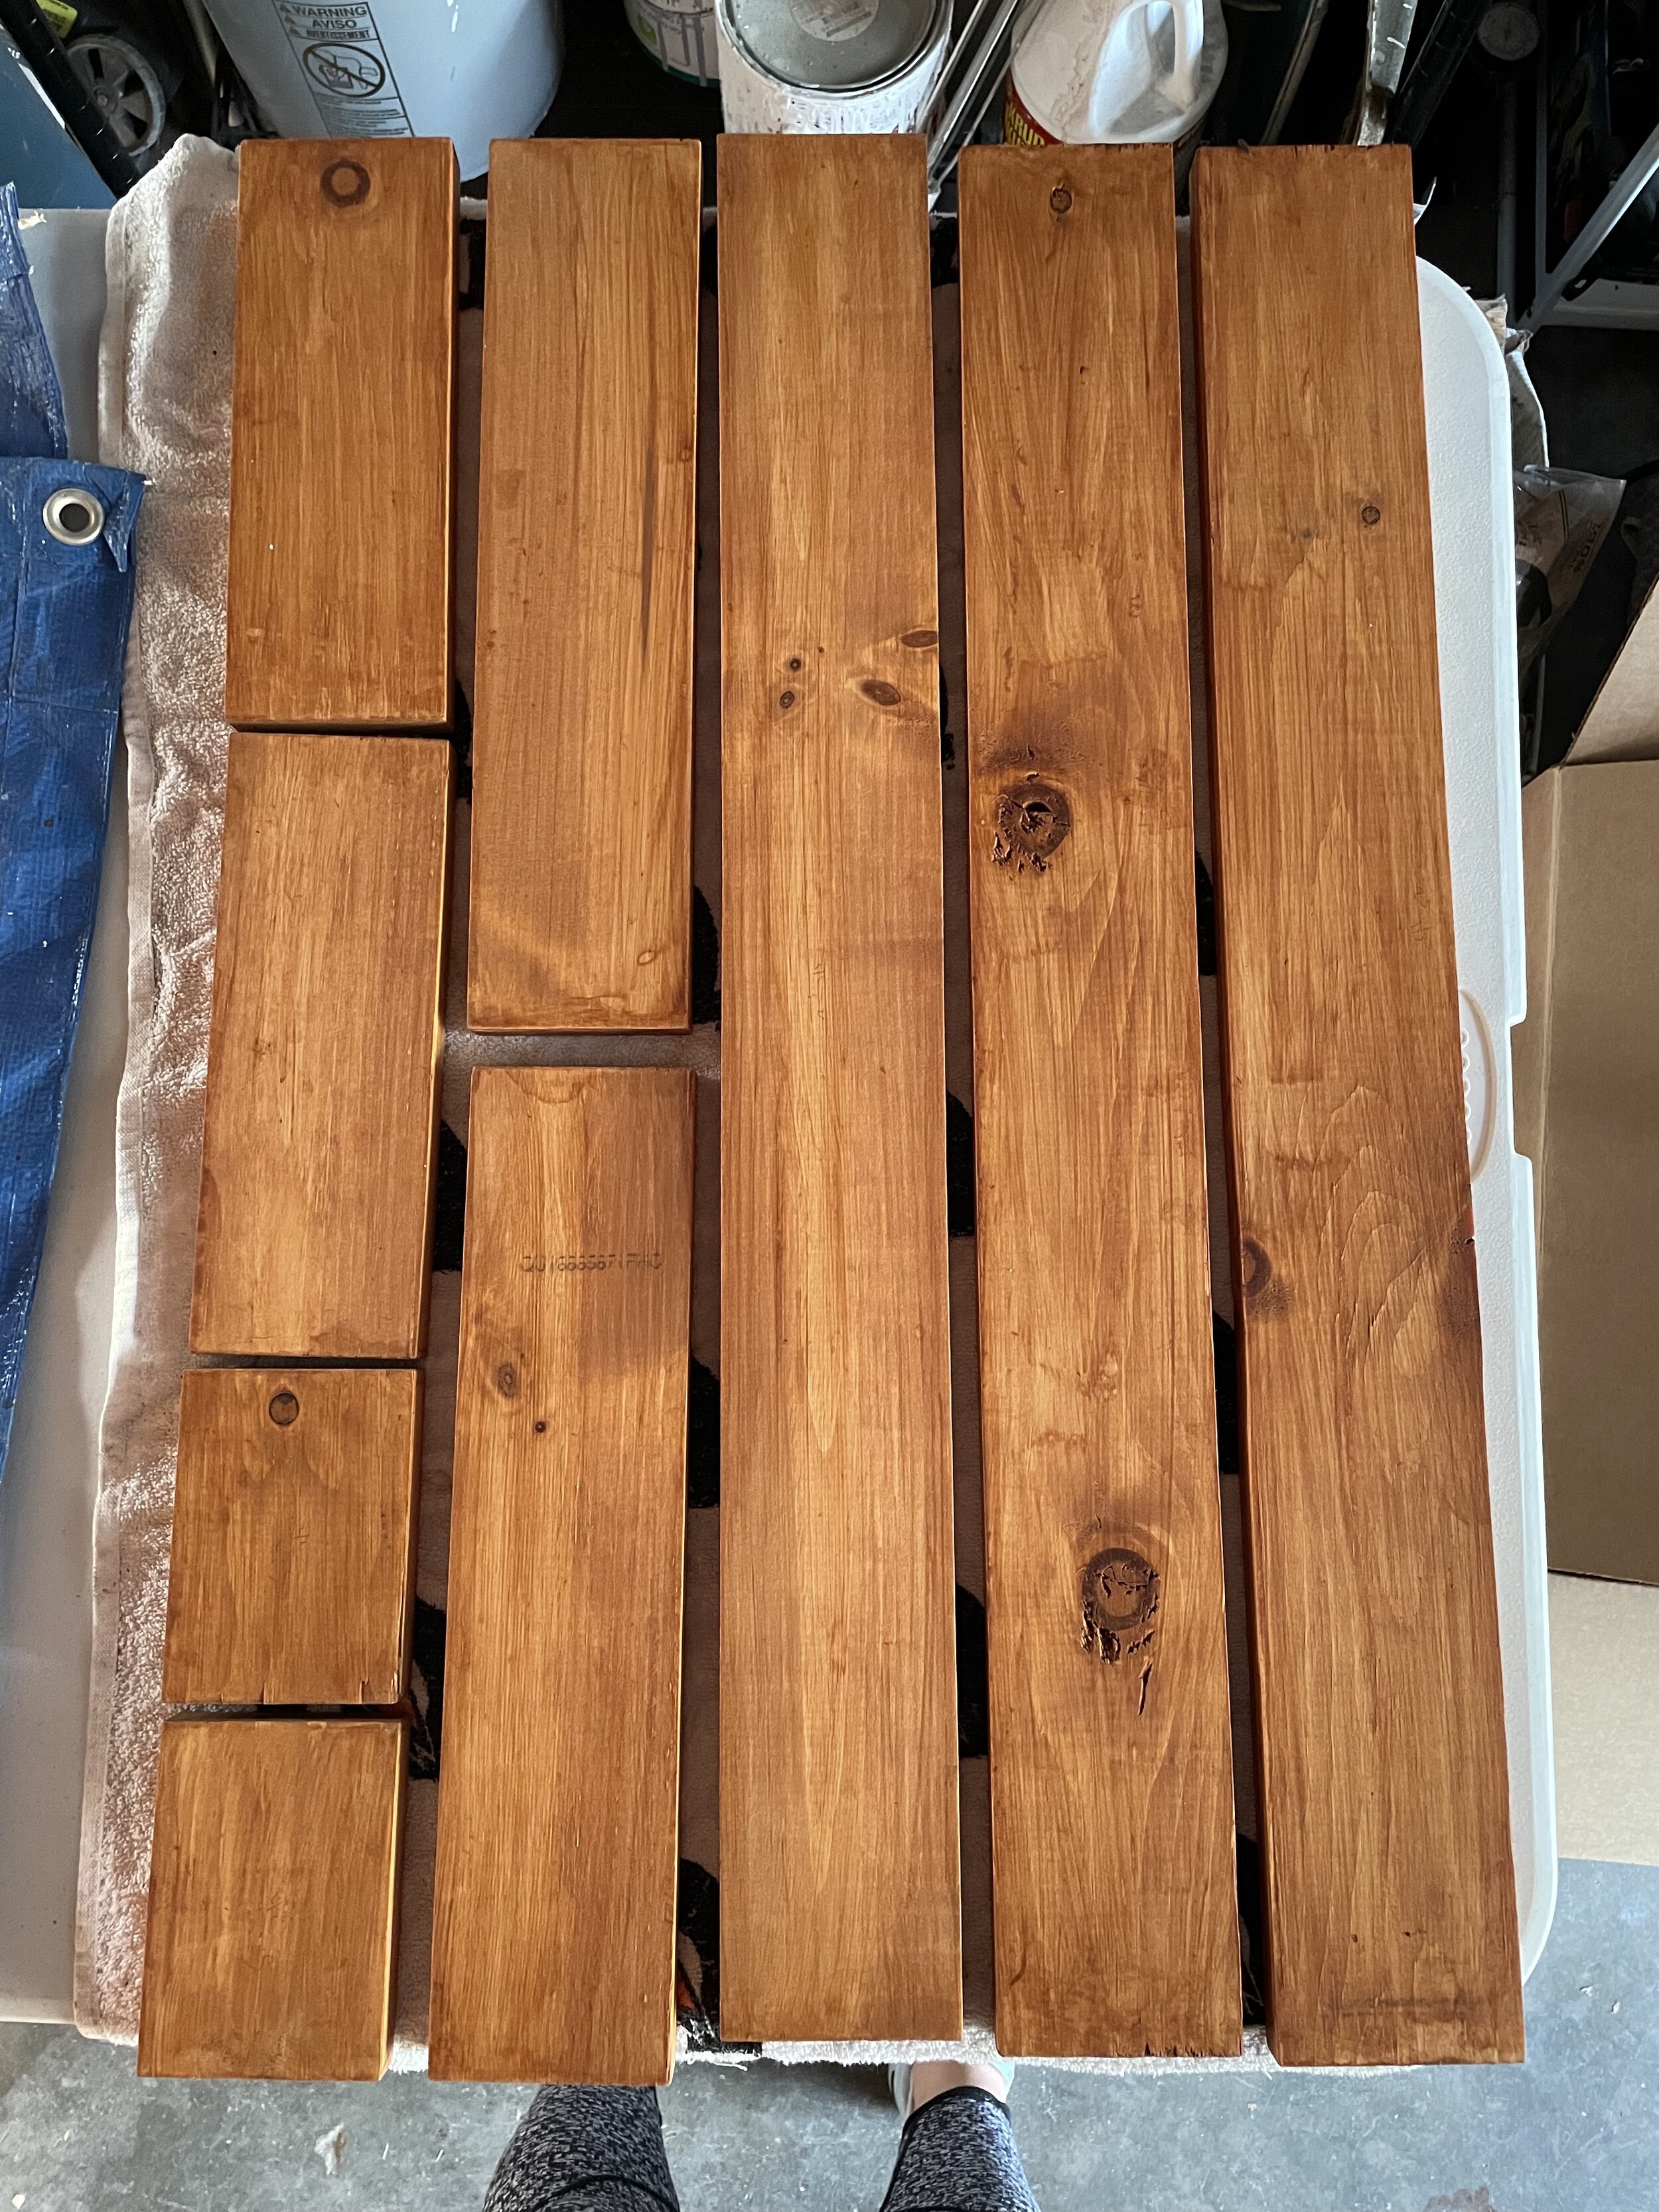
STEP 4: Safely cut all your wood pieces. Wear a mask, eye, and ear protection.
STEP 5: Give your new pieces of cut wood a sand to smooth everything out.
STEP 6: Paint or stain your pieces of wood. If you’re doing more than one coat, make sure to allow them to dry thoroughly in between. I opted to go with two layers of Behr fast drying water-based wood stain in the color Golden Pecan.
STEP 7: I decided to try a seal after staining the wood in hopes that it’ll make cleaning the shelves between pop-ups easier. I used one spray can of Varathane Polyurethane oil-based interior spray with a clear-satin finish. This finish gives the wood a warm glow and makes it scratch resistant too. This can called for three coats - I allowed for at least 24 hrs of drying time between coats.
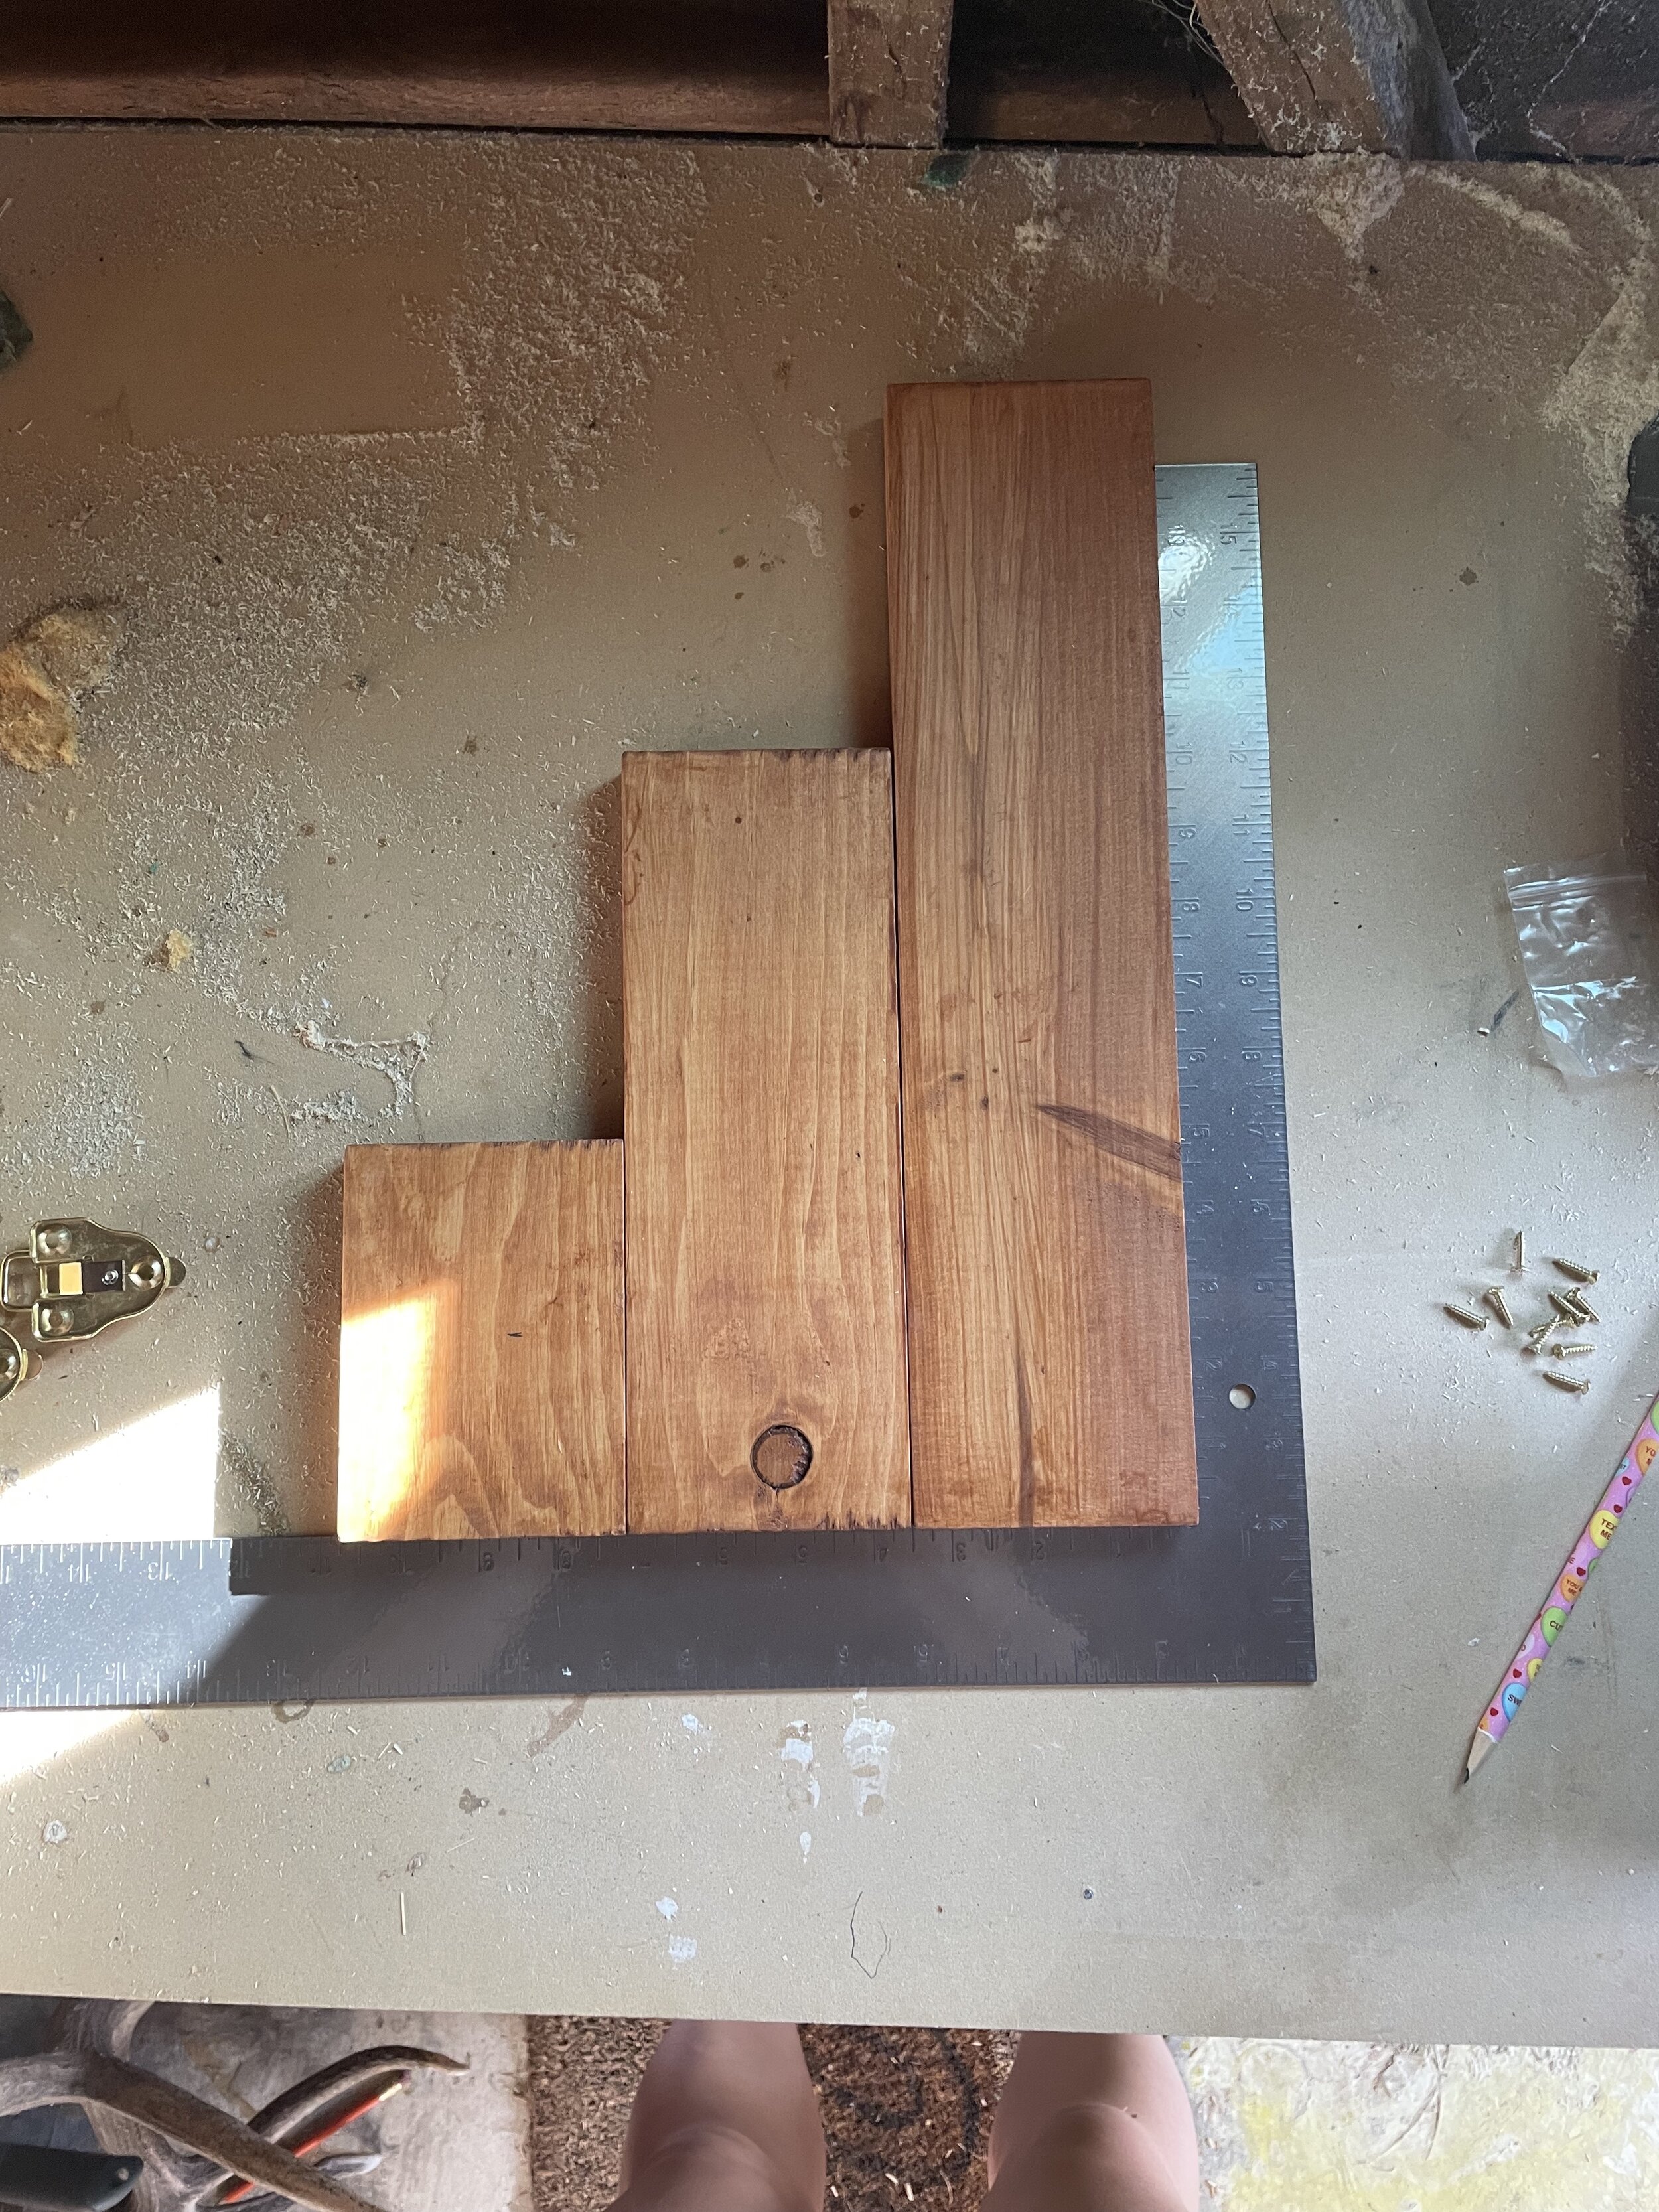
STEP 8: Determine where the legs of your shelves will be screwed into the shelves. To prevent bending and warping of the wood shelves over time with my heavy candles, I opted to have the legs sit 4-5” in from the edges of the shelves. Measure your desired distance in from each of the ends of all your shelves, and mark them with a ruler. Then use your straight edge to also measure in two marks where your screws will go. I just picked a distance that evenly distributed them and kept the screws from being close to the edges of the shelves. Mark these spots where the screws will go.
STEP 9: If you can, use a drill bit in a slightly smaller circumference than the screws you will be using to make small holes for the screws. Doing this helps prevent the wood from cracking or splitting when you do screw the shelves to their legs.
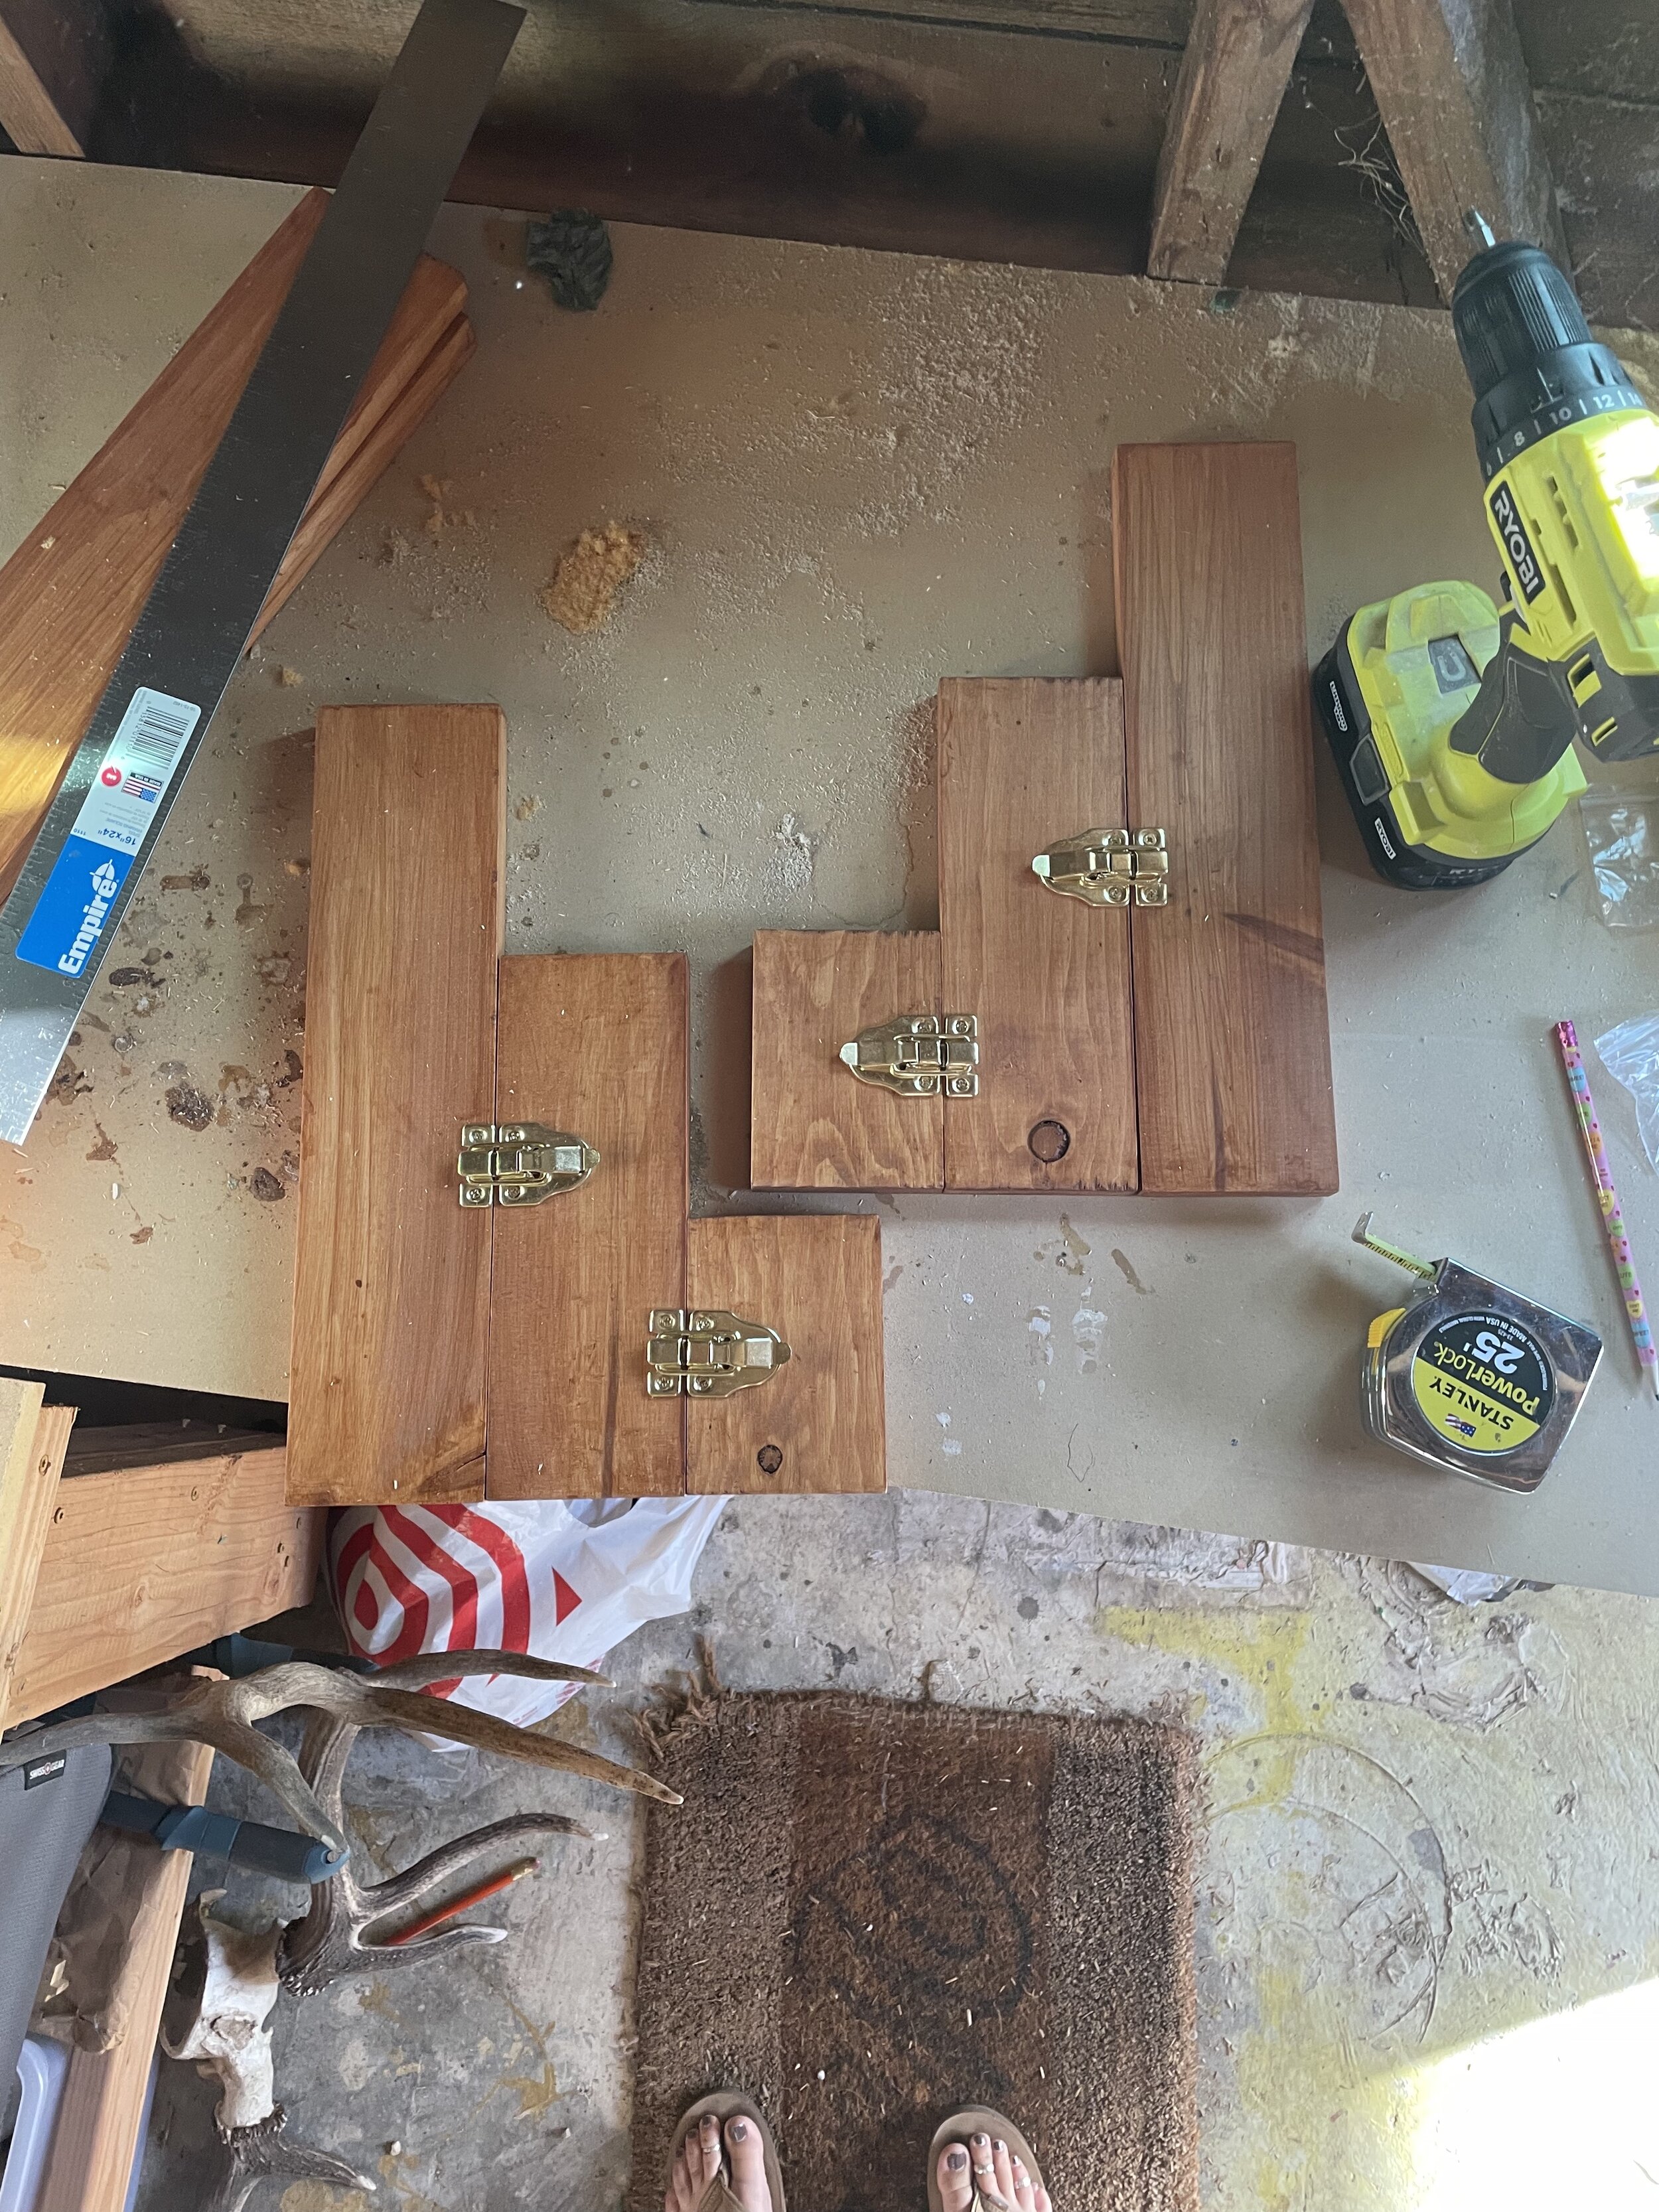
STEP 10: Use something with a right angle to line up the legs on one side of your display; I used a carpenter’s framing square. Then decide where you would like your latches to sit! I placed mine at about 1/2 and 1/3 the height of the legs. I mostly chose what looked nice. The latches I bought came with their own tiny screws, and I used these to affix the latches to the legs. Make sure to attach and close the latches and screw them in like this so you know the legs will sit flat and flush with each other when they are standing and the latches are closed tight. Because the screws for these latches were so tiny and would not go through the full thickness of the wood legs, I did not pre-drill holes for the screws and don’t recommend doing so either.
Step 11: Repeat step 10 for the opposite side of your display’s set of legs. If you want things to look even, make sure to measure the same location of where the latches are placed, and which direction the left and right of the latches are facing. Also take care to make sure you’re affixing the latches so that they will be on the outside of the legs.
STEP 12: Carefully stand your legs up, all attached with their latches on and closed. This will be a bit tricky and require a very flat surface to work on. Set them up at the distance between your pre-drilled holes on the shelf pieces.
STEP 13: Carefully balance the wood shelves on their legs, and attach them to the legs with the screws. I found it easiest to work from bottom shelf to top. And, I always recommend starting with one screw on each side, then a second screw on each side, and always leaving them a bit loose and not fully tightening the screws until everything looks even and you’re ready to make the position permanent.
STEP 14: Step back and check out your handy DIY work!
And here is one of my three finished products!!!
If you use any of the tips or tricks or try this DIY yourself, please comment below and let me know how it went! Or drop your questions you have below too :)
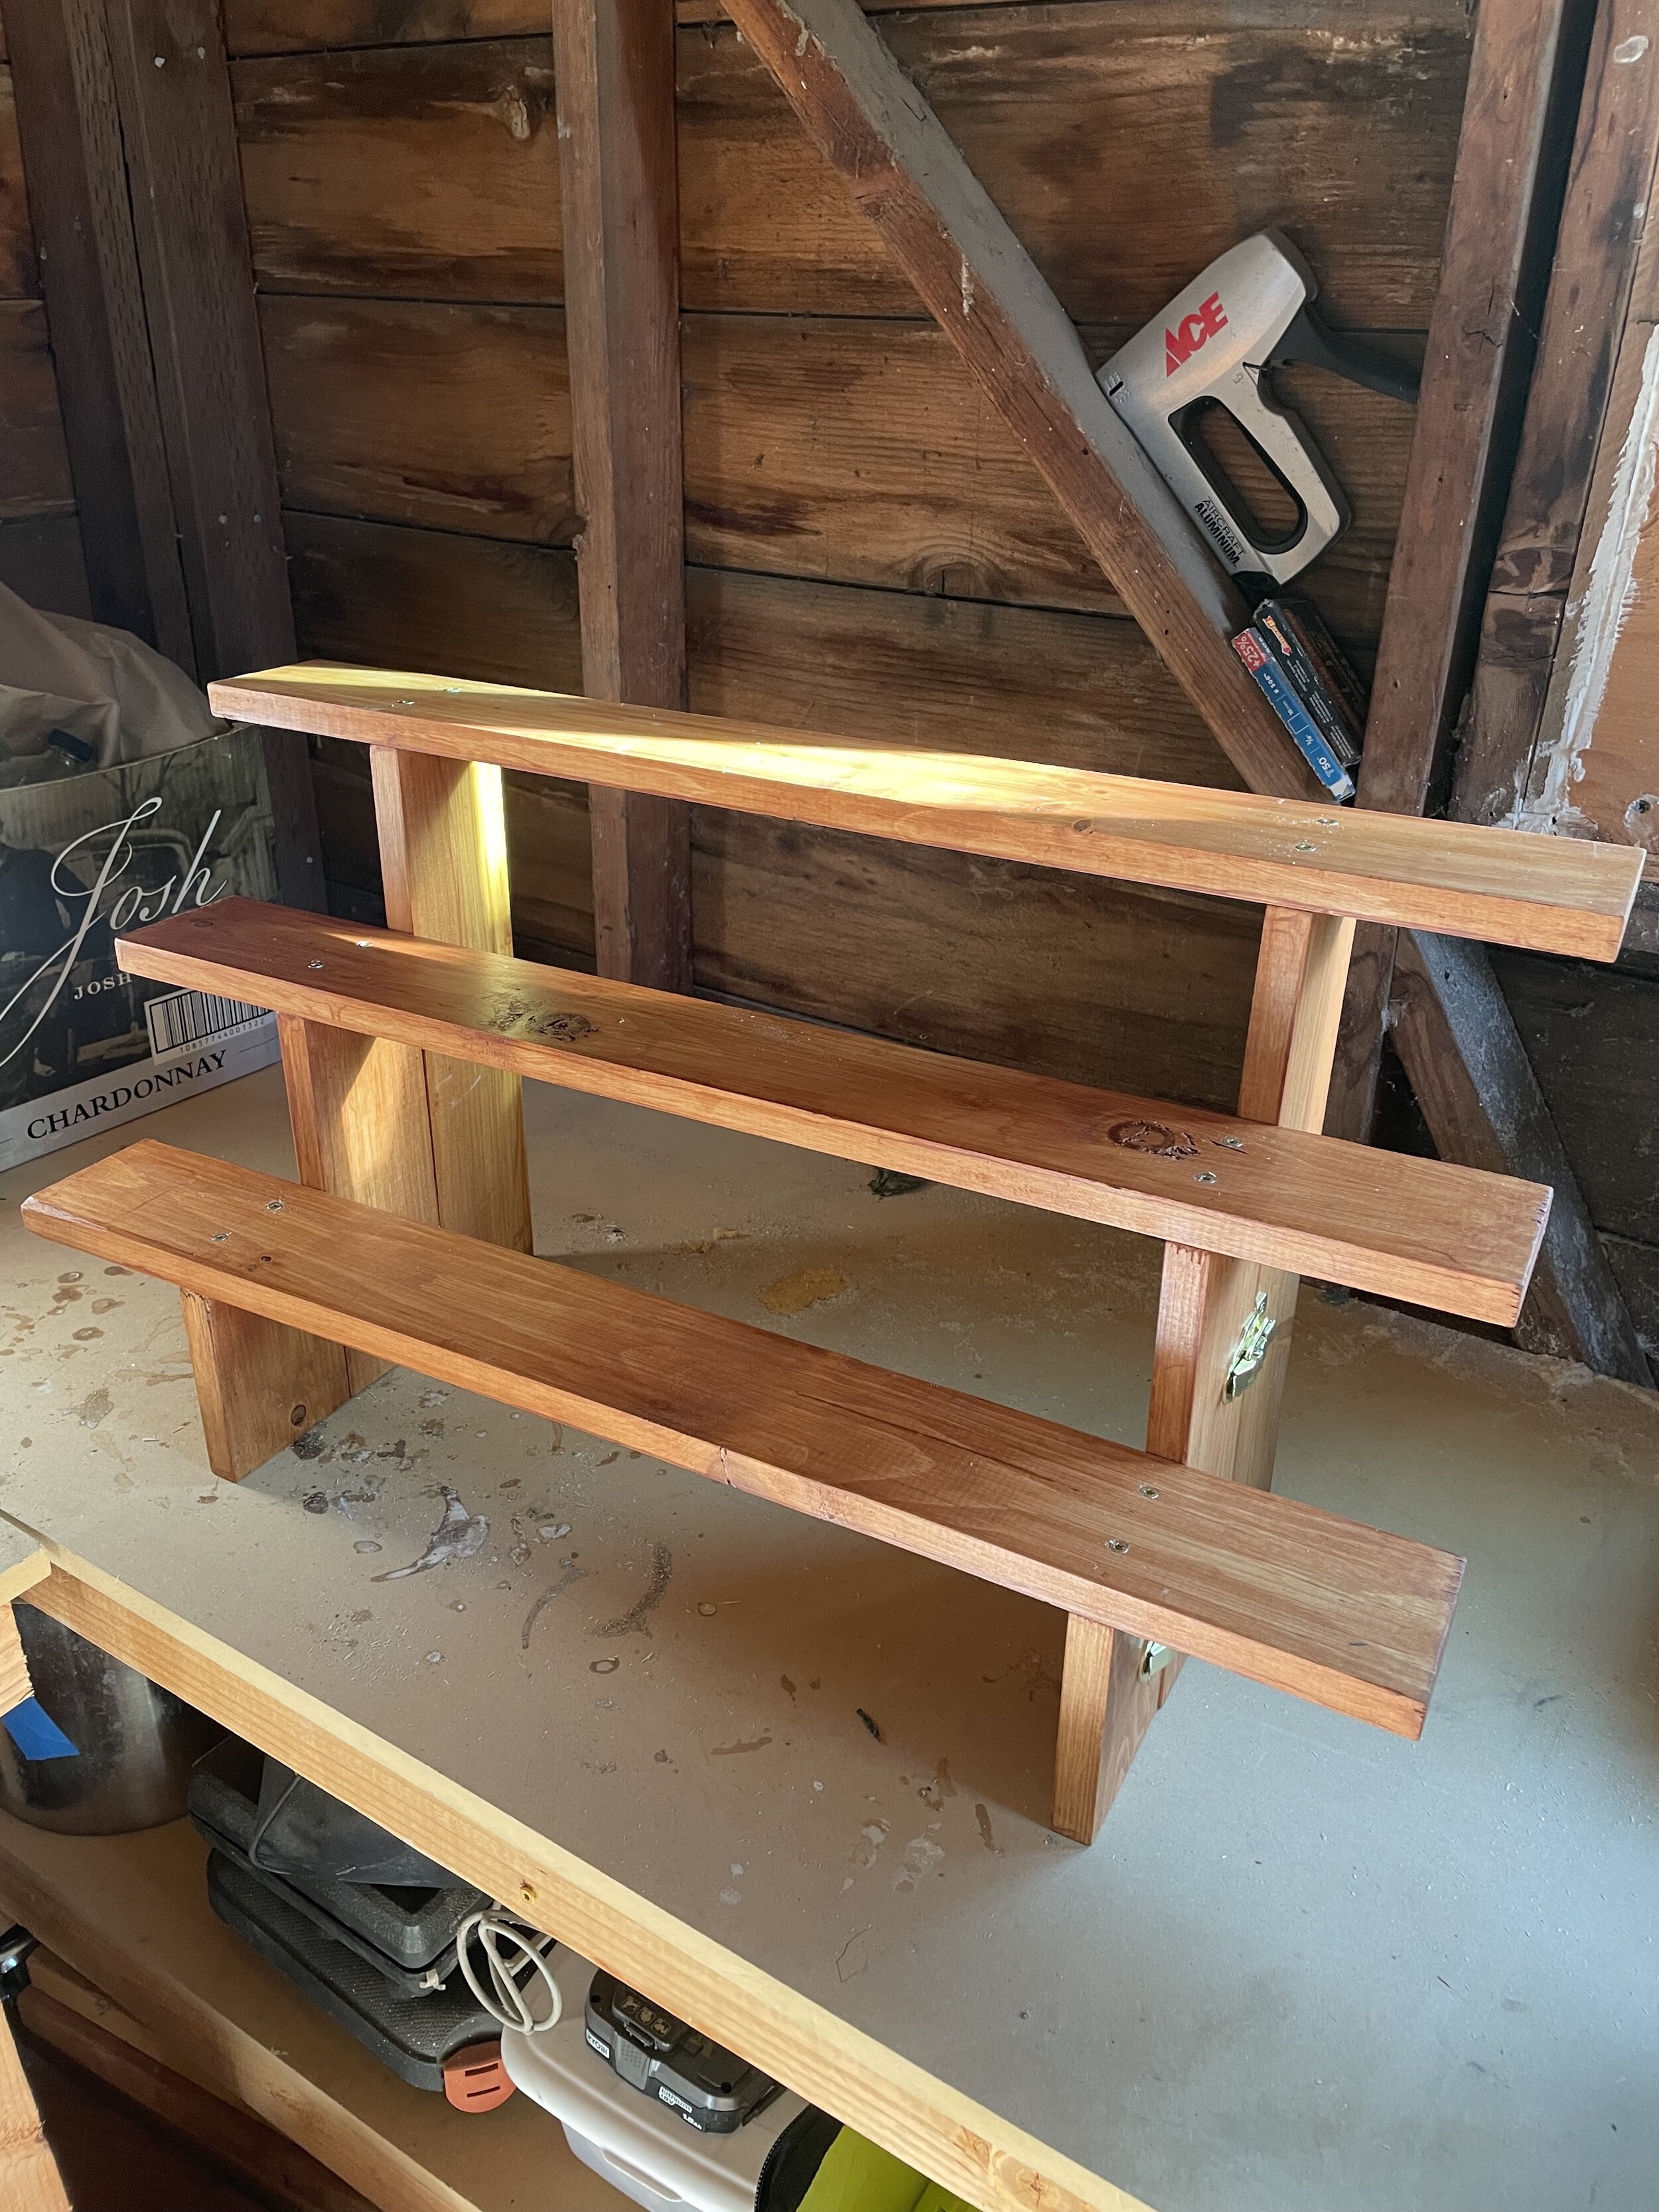
Voila!